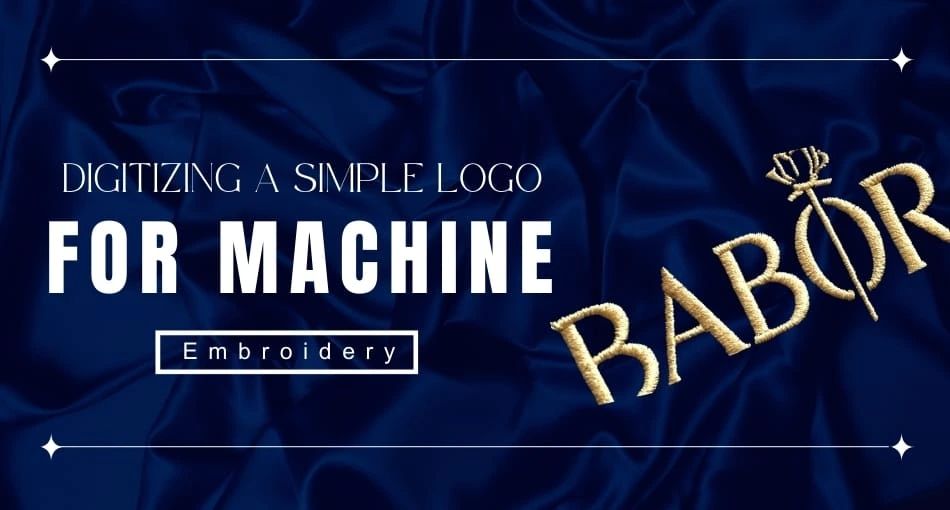
Introduction of Machine Embroidery
Digitizing a clean logo for Machine embroidery can be a laugh and worthwhile experience for those looking to create personalized and custom-designed objects. In this article, we can discover the process of digitizing an easy design for machine embroidery, step by step. This tip is for individuals with primary expertise in embroidery and a choice to study more approximately digitizing designs for machine embroidery.
Steps for Making Machine Embroidery Design
The first method
The first step in digitizing an easy design for machine embroidery is to pick the right software program. There are many software application alternatives available in the marketplace, each with its very own skills and capabilities. Some popular alternatives encompass Embird, Wilcom Embroidery Studio, and Hatch Embroidery. It is important to pick software that well-match in conjunction with your embroidery tool and which gives the machine and features you want to create your format. Once you have decided on the software program software, the following step is to import your brand or design into this machine. Most embroidery software programs’ utility let you import images in masses of file codecs, which incorporate JPEG, PNG, and BMP. Once you import the design, you can begin the digitizing method with the aid of using the software application software program’s machine to create outlines, fills, and different factors of the design.
Stitches Density for Machine Embroidery Designs
After growing the primary factors of the format, the following step is to assign stitches to each detail. This involves selecting the form of stitching, stitch density, and exceptional parameters to ensure the design will stitch out correctly on the embroidery machine. It is vital to be aware of information that includes stitch routes, underlay stitches, and soar stitches to ensure a smooth and expert stop result. Once you have digitize the design and stitches which are assign to you, the following step is to preserve the format in the correct file format for your embroidery tool. Most machines receive report codecs inclusive of PES, DST, and EXP. It is important to test along with your machine’s manufacturer to determine the proper file format for your system.
Final Call
After saving the design in the proper report design, the final step is to transfer the design to your embroidery tool. This is achieve by the usage of a USB power, floppy disk, or different garage tool well matched together with your system. Once you transfer the design, you can load it on the machine and start stitching out your design on the favourite item, consisting of a shirt, hat, or bag.
Conclusion
In the end, digitizing a clean brand for machine embroidery is a rewarding and modern system that permits you to personalize and customize your machines. By following the stairs cited in this academic, you can create expert-searching designs that stitch out effectively to your embroidery machine with exercise and staying energy; you may emerge as gifted in digitizing designs for system embroidery and create precise and personalized machines for yourself and others. By utilizing the right software program application and equipment, you could supply your design mind to existence and take your embroidery capabilities to the subsequent degree.